|
|
TeleFlowRelay Overview
• This framework is designed as a programmer's aid to handle user sign up and site admin
• It is not intended as a CMS, but more as a means to deploy applications by
• Its initial code was based on jpmaster77's PHP login system:
http://evolt.org/PHP-Login-System-with-Admin-Features
• We have rewritten, updated and added many additional functions
• PHP, CSS, JS and jQuery are combined in the readily modifiable templates
• Twitter, social media, and media management code has also been added
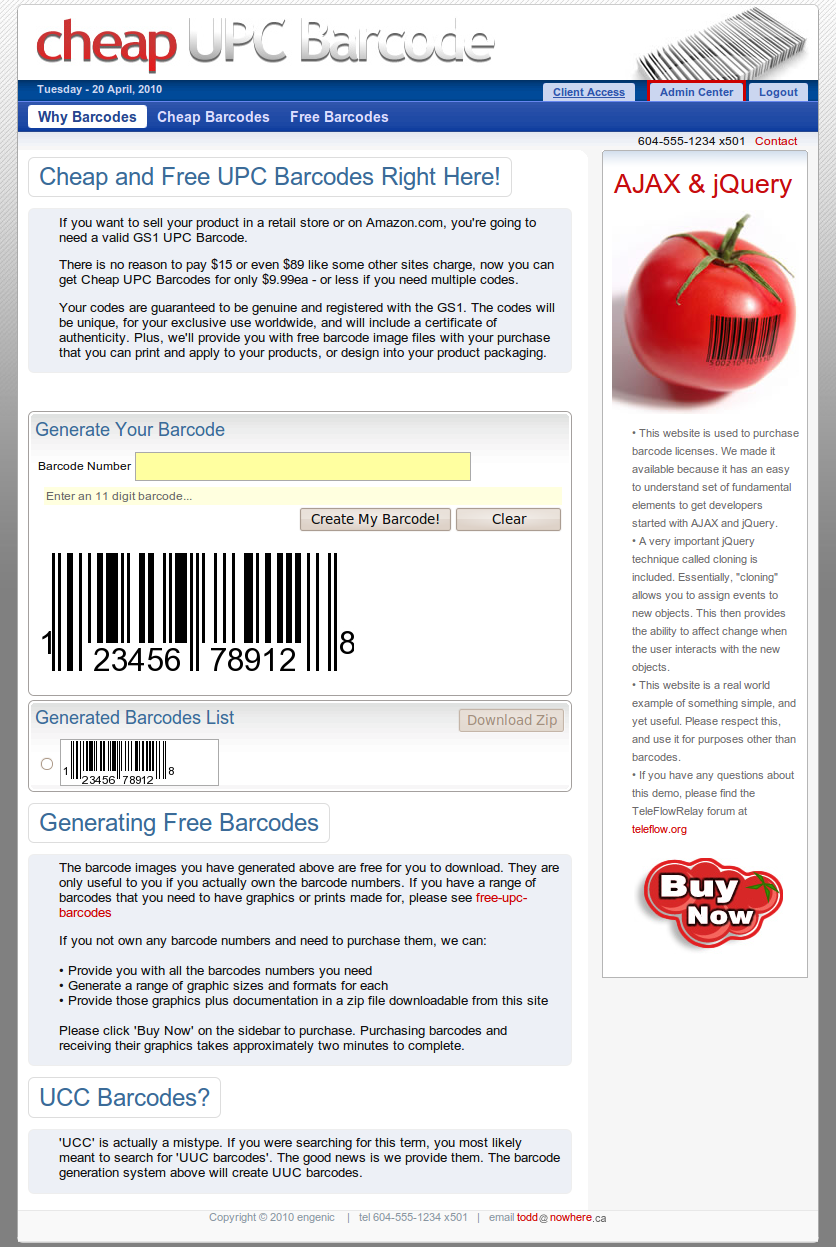
• We have included an AJAX with jQuery tutorial
• Please use this product for your application under GPL3 or MIT licenses
• Improvements are greatly appreciated, as there are still rough patches
• Forum support for users of PHP-Login and TFR can be found here:
http://teleflow.org/phpbb/viewforum.php?f=25
Installating TeleFlowRelay
• This step by step installation of TFR
• Requires LAMP or WAMP with Pear installed
• Pear is easily installed by unzipping a file to PHP
• To get started with TFR, follow these steps:
1) Download the framework from http://teleflow.org
2) Unzip the framework into your web home directory
3) Start the install in your web browser
http://localhost/engenic_app_root/administration/cr_install.php
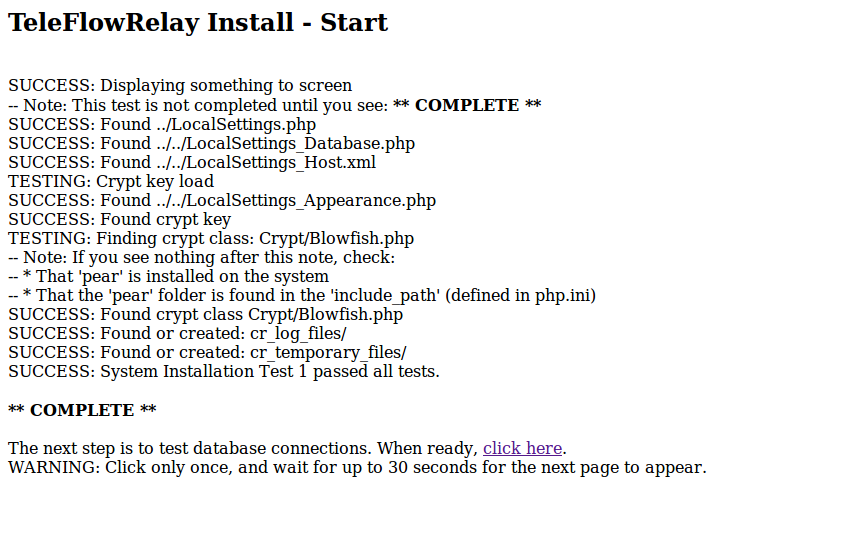
You will see these following steps during your installation:
Screen Shot One - Basic Tests to Check Installation is Good to Go
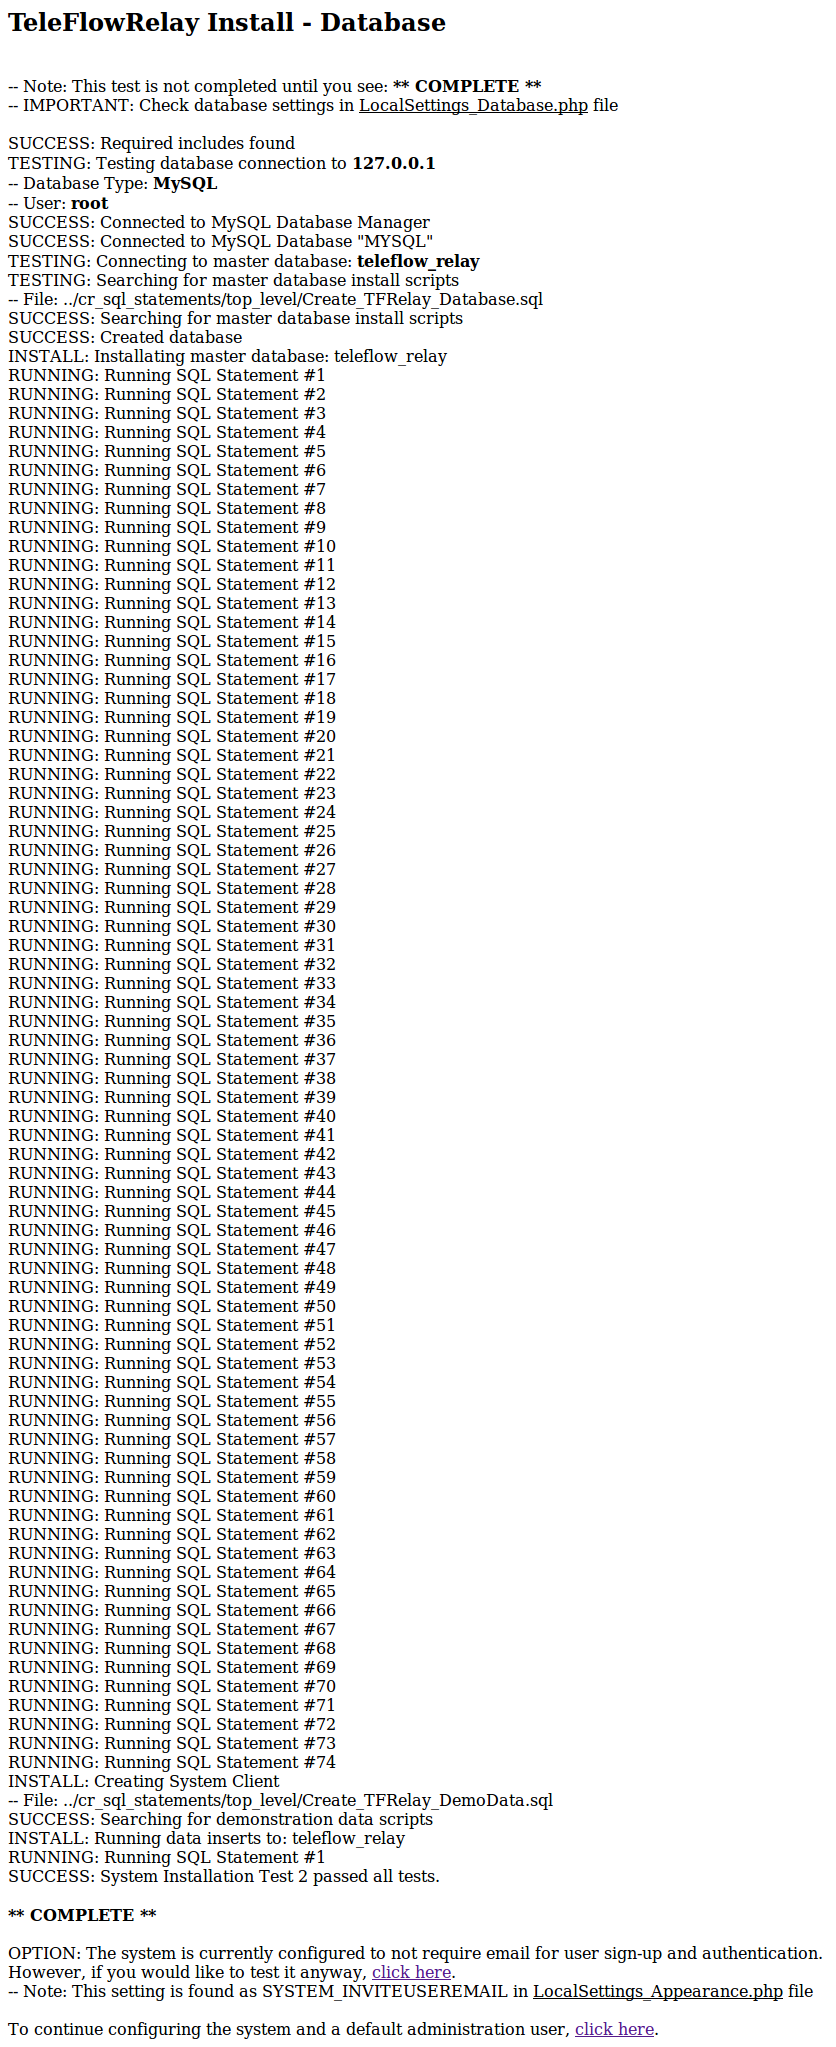
Screen Shot Two - Self Install Database
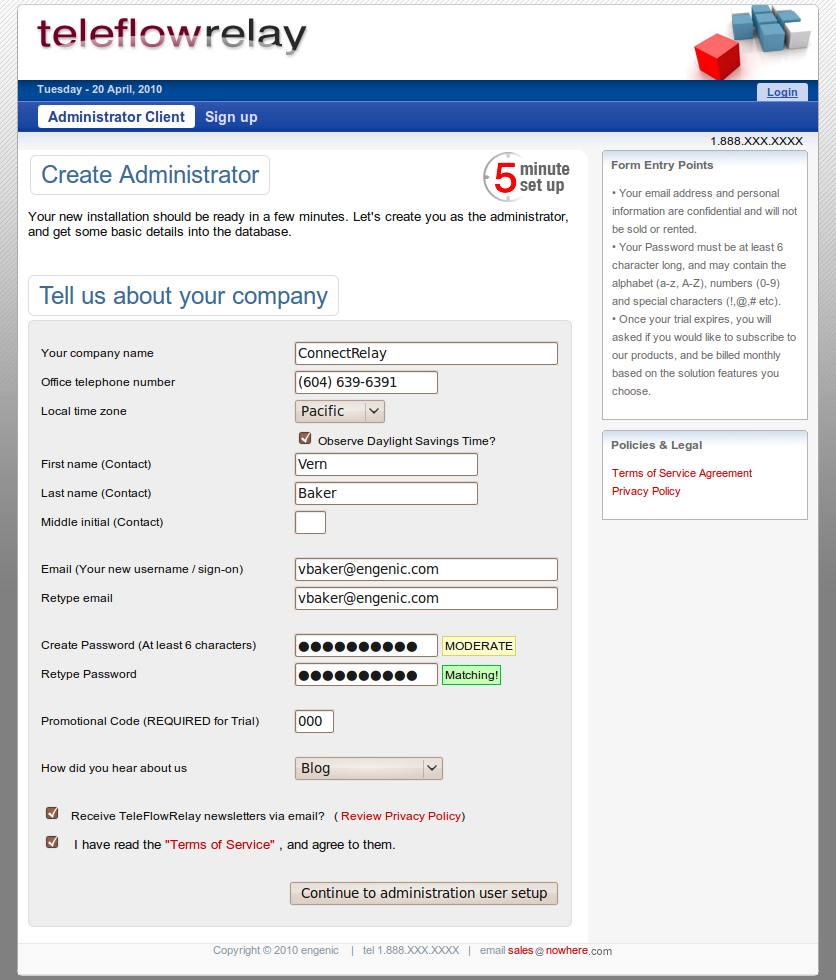
Screen Shot Three - Set Up Administrator Account and User
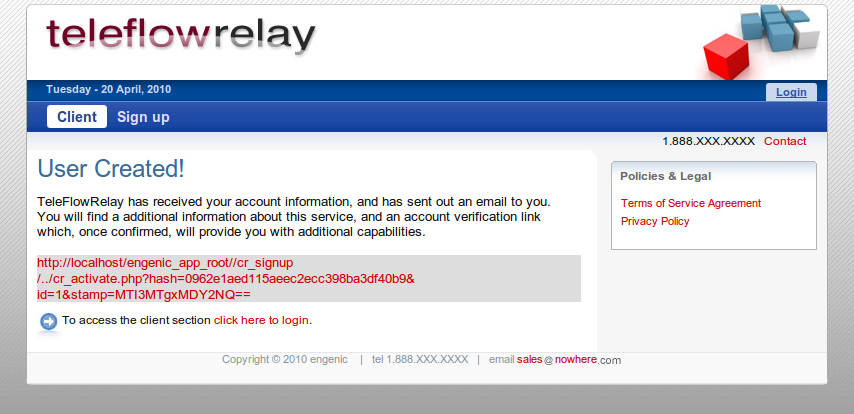
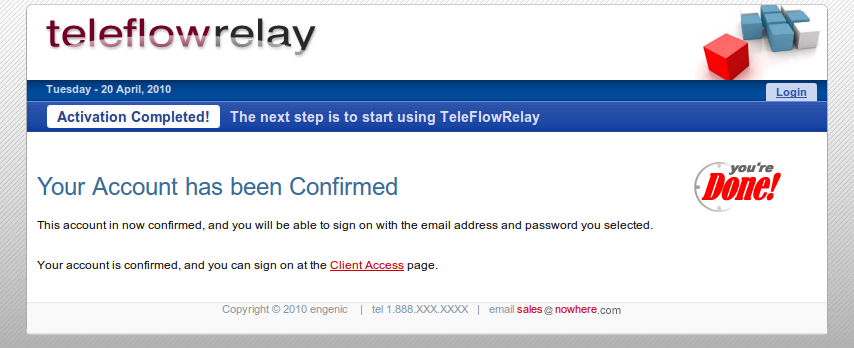
Screen Shot Four - Confirm and Activate Admin User
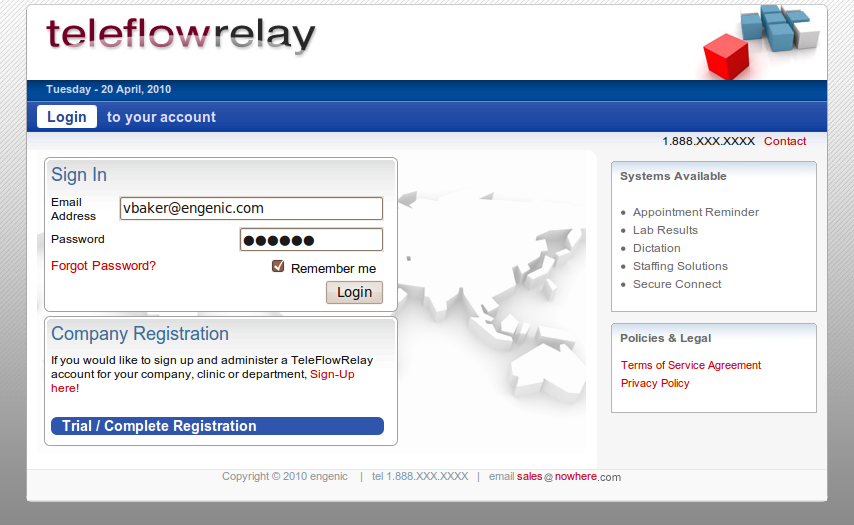
Screen Shot Five - Sign In as Admin User
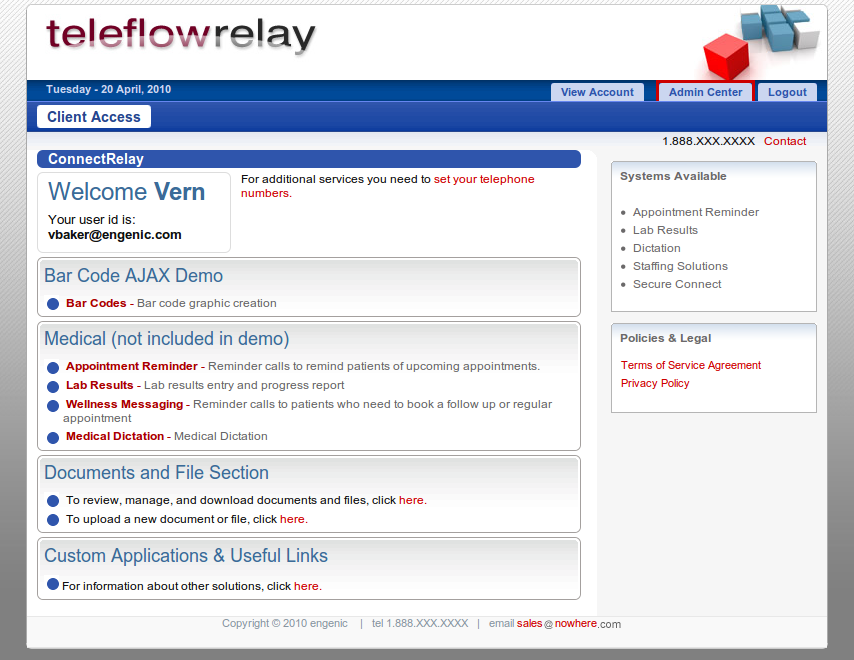
Screen Shot Six - Example Menu and Content Screen
Screen Shot Seven - Try an Example AJAX Application